


Happy New Year! Here's to a Happy 2012.
2011 was a rough year for us; for reasons so personal they can not really be discussed in this format. 2011 was such a year that I do not even clearly recall the "One Little Word" I selected. It might have been "grow" but I honestly do not recall.
(If you are not familiar with "One Little Word" click here for Ali Edwards' posts, they're the ones that got me started.)
It was difficult for me to identify a One Little Word for 2012. I wanted so many things from the year, healing, growth, progress, joy...
I found PERSPECTIVE and it seemed to fit the bill. I will attempt to count my blessings and maintain PERSPECTIVE in all things.
Step 1. I have woefully neglected my creative side during the last year. But, as in all things, my creative side has evolved since last I attempted to chronicle it in this format. Therefore, very soon, you will see some changes to this blog. It will transition from being a scrapbook-based technique blog to being a guidebook for my personal creative journey. I am signed up for a ceramics art class during winter semester, keep an eye out for those projects.
Step 2. Yet to be determined. I'm making this up as I go along.
Sunday, January 1, 2012
One Little Word
Monday, July 25, 2011
Drawing 1 Class - Day 12
Final drawing. Charcoal on Canson, two days. Pick six spatially related objects from the pile and draw and shade them.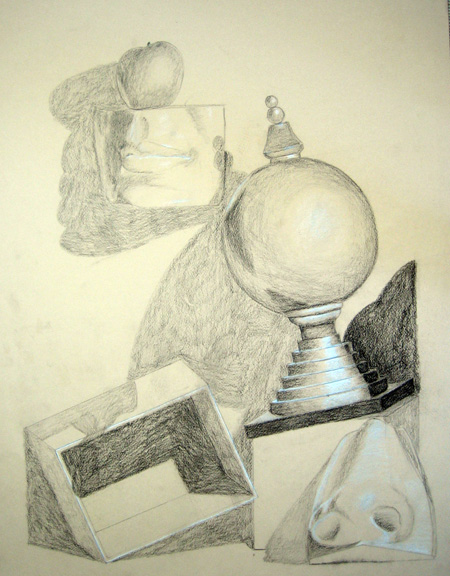
Drawing 1 Class - Day 11
Drapery.
Ok, this is one of the hardest things I've ever had to do, art-wise. It was frustrating and time consuming but I'm happy with the results.
Charcoal on Canson, two days.
Sunday, July 24, 2011
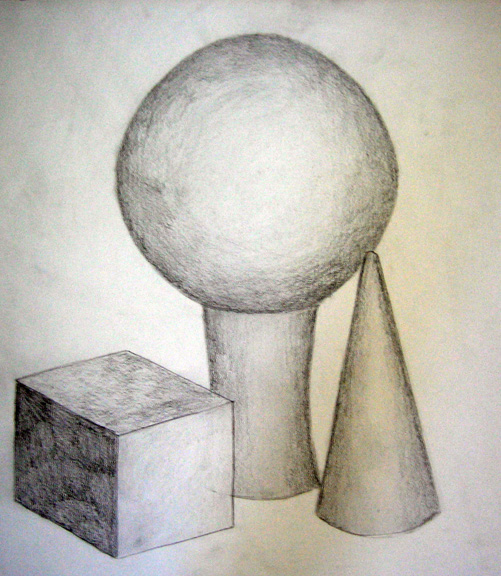
Drawing I Class - Day 10
Shading for plane change, charcoal on white paper, one day.
The purpose of this drawing was to practice our ability to make minute changes in shading with a limited number of pencils. Each plane was to be shaded differently.

Saturday, July 23, 2011

Drawing 1 Class - Day 7
Shading for light, drawing 1. This drawing was also a two-day event, and our first foray into charcoal. Previous drawings were done with graphite.
Friday, July 22, 2011
Drawing 1 Class - Day 5
Class 5, which was really two days, was all about perspective. We were required to draw a hallway at the college with correct proportion and angle based on our perspective. I was sitting to the right of center in this particular hallway, which made it a bit more challenging:
Thursday, July 21, 2011
Drawing 1 Class - Day 4
The focus for this class was negative space: There is a ladder and a stool in the background with another stool coming out of the ladder toward the viewer.
